Retro PC cases: beige towers, clearances and cooling
Published
A retro PC case might be a new beige tower, a small case with vintage materials or an old shell with modern parts inside. Choose the type first, then check how all your parts fit together. A case’s largest quoted sizes may apply to different setups.
On this page
SilverStone’s FLP02 offers an old-fashioned tower. Fractal Design’s small Terra uses aluminum and walnut. These two current cases show different ways to get a retro look.
A beige tower with a modern Turbo button
SilverStone’s FLP02 copies the shape, front sections and drive-bay look of an older tower. Its manufacturer product sheet lists three 5.25-inch bays and modern front connections. The floppy-drive styling gives it the old look. The Turbo button runs the cooling fans at full speed; it does not change the processor’s speed.
The SilverStone distributor specification shows why you must check more than one graphics-card limit. The FLP02 allows a graphics card up to 386 mm without the front combo drive cage, or 279 mm with it. This cage holds drives; keeping it reduces the space by 107 mm.
If you need an optical drive, such as a CD/DVD drive, or storage at the front, mark its position before choosing the graphics card. An empty-case photo cannot show whether both will fit.
A compact case trades space between components
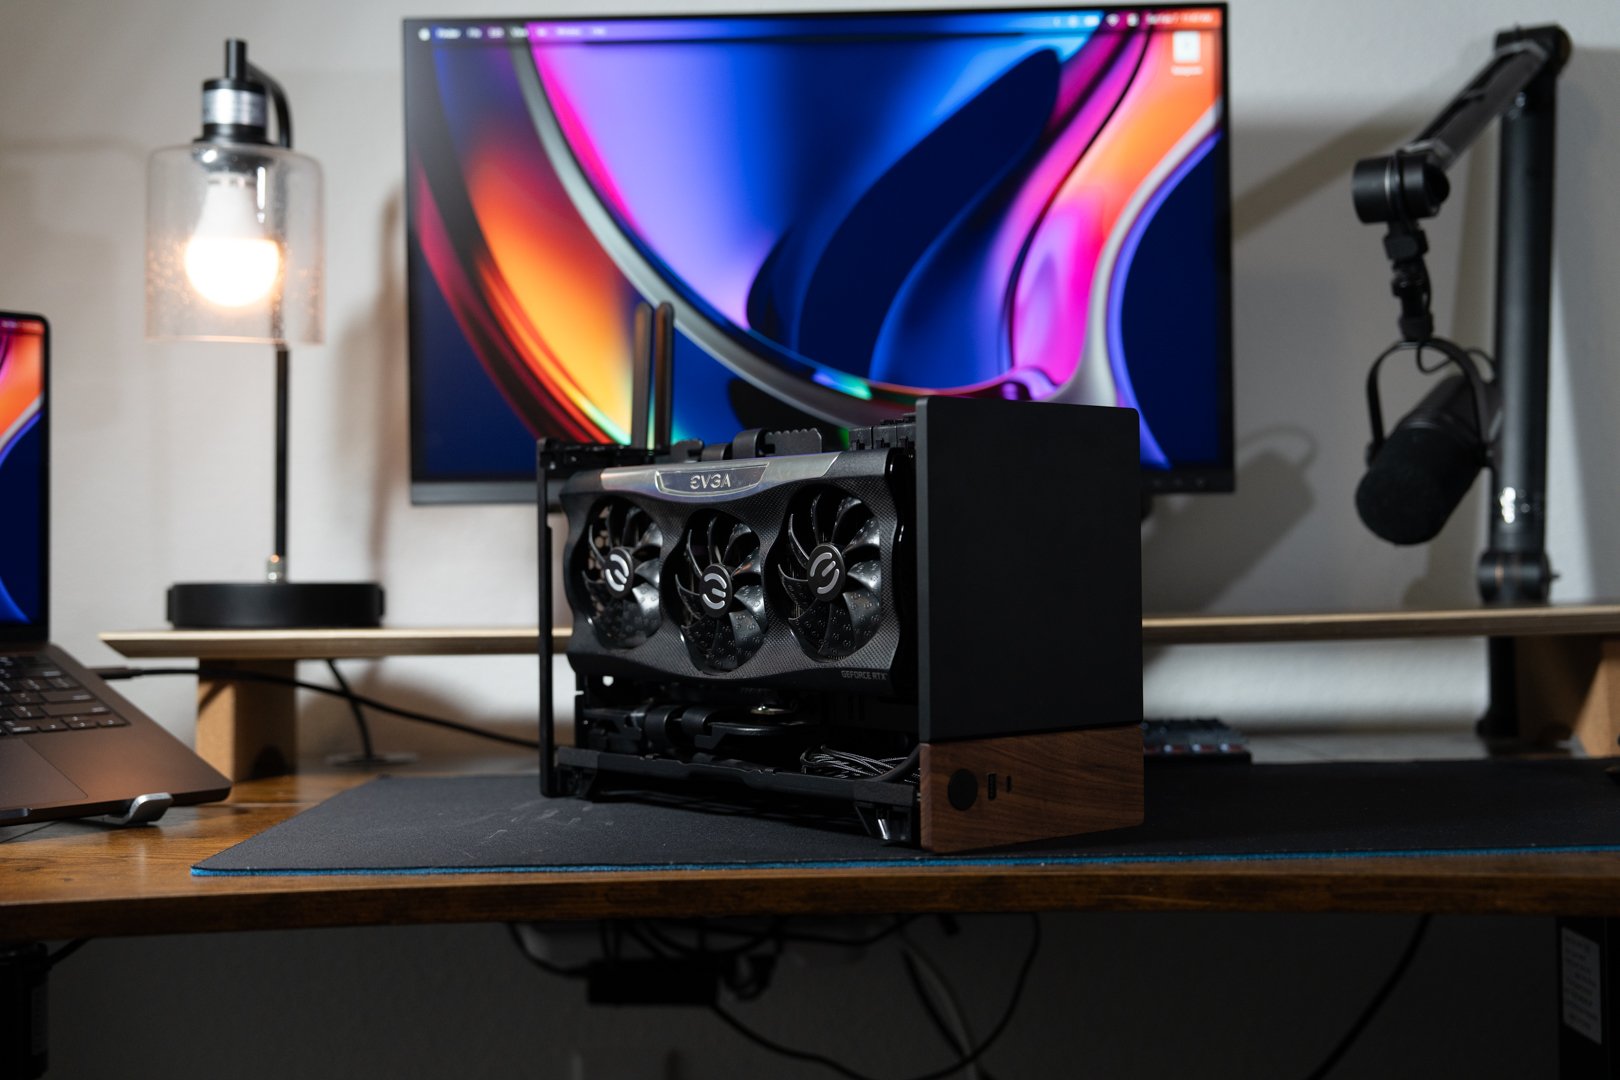
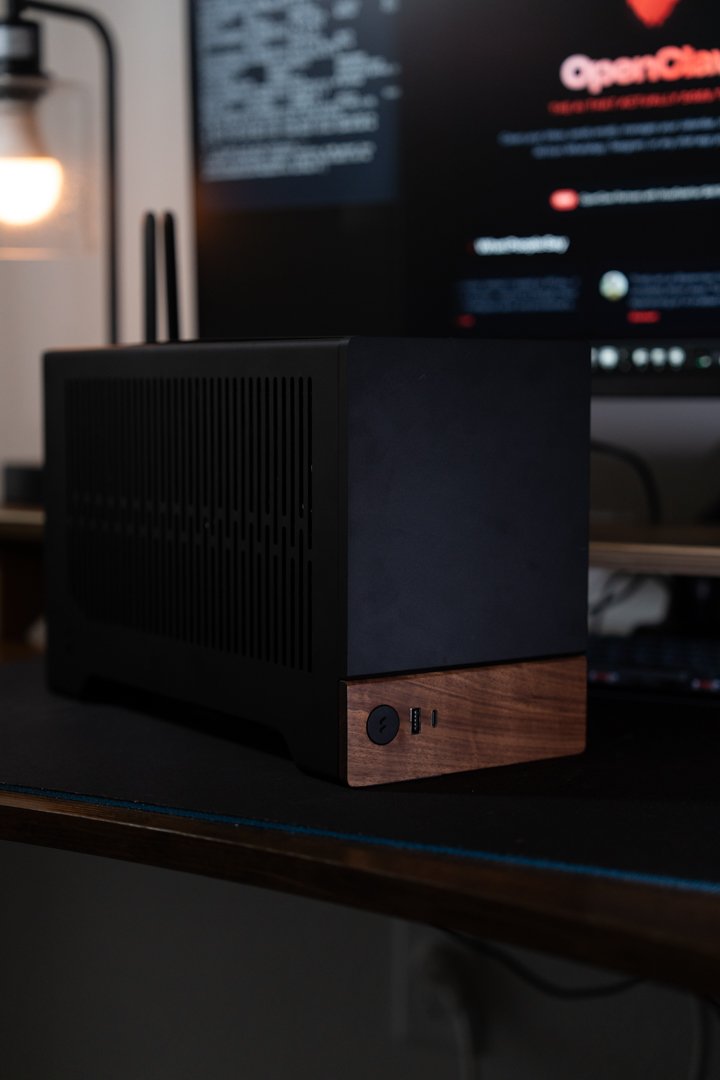
Fractal Design’s Terra specification and manual give a case volume of 10.4 litres. It takes Mini-ITX motherboards, the main circuit boards. It also takes SFX/SFX-L power supplies and graphics cards up to 322 mm long.
Its movable central wall shares space between the graphics card (GPU) and processor (CPU) cooler. Choose one wall position from the manual and check both parts against it. A position that fits the largest card may leave too little room for the tallest cooler.
Record the exact graphics-card model, thickness and position of its power socket. Allow the cable space that socket needs, even when the card itself fits.
Fill in a fit sheet before buying
Use the case-fit worksheet for these checks:
- Motherboard: match the board size, mounting holes and rear opening to the case.
- Graphics card: record length, height and thickness. Subtract the space used by your chosen drive cage, fan or liquid-cooling radiator.
- CPU cooler: check its full height, including any fan raised to clear the memory. For a Noctua model, consult its case compatibility database.
- Power supply: match its size type and depth, then leave room for plugs and cable bends.
- Cooling and storage: draw them in place together. Add the radiator and fan thicknesses to find the total space they need.
Write the setup beside every measurement: “front cage fitted” or “wall position 3” tells you when the number applies. During assembly, check that you can reach the plugs and run the cables before fixing the final panels in place.
What to inspect in an original case
An old case needs its own measurements. Check the motherboard standoffs—the raised mounts that support the board—plus the rear expansion slots, power-supply opening and front wiring. Identify each plug before connecting the power and reset buttons to the pins on a modern motherboard.
Check where air can flow through the case and where the case will sit on your desk. Drive cages and solid front panels can block space even when the largest parts fit. Note how to reach filters, fan screws and storage so you can clean the case easily.
Record the details you want in the visual brief: a labeled switch, a broad grille, visible drive bays or a distinctive color. Compare each case with those details and the same fit sheet. Use the chosen colors on screen with a classic desktop theme or an original Winamp skin.