Animated and retro cursors: choose, make and install them
Published
A retro cursor needs a shape you can recognize at small size and a hotspot: the exact point where it clicks. The original pixel-arrow pack contains a still PNG image and a Windows CUR pointer file. Its ANI file holds an animation with four frames to examine or adapt.
On this page
The animated arrow changes from yellow towards coral while its outline and tip stay still.
Choose a cursor file for Windows or the web
| File | Use in this pack | What it contains |
|---|---|---|
| PNG | The webpage example | A still image with a transparent background; the webpage’s CSS code sets the click point |
| CUR | A still Windows pointer | The cursor image and click point |
| ANI | An animated Windows pointer | A sequence of cursor images with timing, stored in a RIFF file |
Microsoft’s resource-format documentation describes RIFF, the file structure used for animated cursors. For the webpage, use the still PNG image and let CSS name a standard cursor to use if the image cannot load.
Draw the tip before the decoration
The supplied arrow uses a 32 × 32 pixel canvas and a hotspot at x=2, y=2, measured from the upper-left corner. Put the visual tip at that coordinate. A dark outline keeps the pale fill visible over white documents; the pale fill separates it from a dark desktop.
Edit individual pixels with nearest-neighbor zoom, which enlarges them without blurring their edges. Then inspect the arrow at actual size. Compare it over white, black, teal and a photograph. At this size, a clear outline matters more than fine patterns inside it.
For animation, keep every frame’s canvas and hotspot identical. The pack uses four frames, each lasting ten sixtieths of a second. Changing a highlight or color while keeping the tip fixed avoids making the click point appear to wander.
Apply a Windows pointer
Move the files to a lasting folder, such as Cursors/Pixel Arrow, before applying them. Windows refers to the selected file’s location.
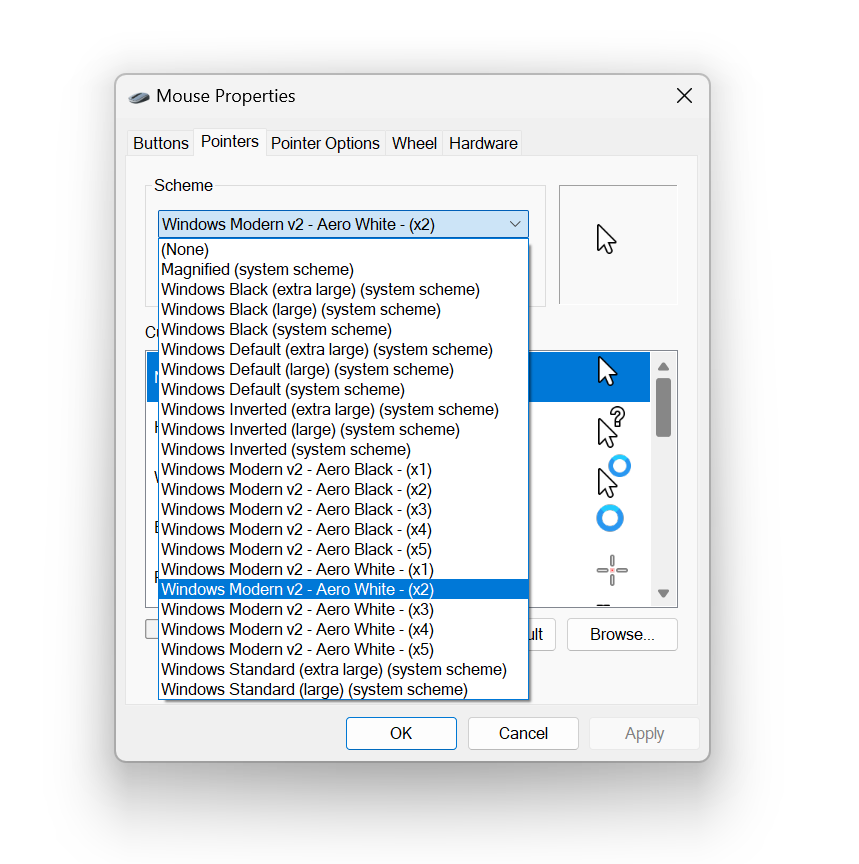
- Open Settings → Bluetooth & devices → Mouse → Additional mouse settings.
- Select Pointers, then Normal Select.
- Choose Browse and select
pixel-arrow.curorpixel-arrow.ani. - Apply the selection. Save the set of pointers as a scheme with a name you will recognize.
Microsoft’s mouse settings guide documents individual pointers and schemes. Change just the normal pointer first. Then point at a small button, select text and resize a window. Check that the text and resize pointers still look distinct.
Add the PNG to a webpage
Open the pack’s hotspot demonstration. Its CSS uses:
.pixel-pointer {
  cursor: url("pixel-arrow.png") 2 2, auto;
}
The numbers set the click point in image pixels. The final auto lets the browser choose its usual cursor if the image cannot load. MDN’s cursor reference explains the URL, hotspot and required keyword fallback.
Apply the class to the area you want to customize. Keep the usual text and resize pointers elsewhere. If clicks land beside the image’s tip, correct the hotspot. If the image never appears, open its URL directly to check the file location. MDN recommends 32 × 32 pixels as a practical size and notes that browsers can ignore oversized images.
Extend the set
Draw a pointing hand and a busy symbol with the arrow’s outline thickness and colors. Make each pointer’s job clear before adding animation. Pair the set with a classic desktop palette or a cursor trail when you want the same colors around the pointer.