Pixel art for beginners: draw a crisp 16×16 icon
Published
Draw a mug on a 16×16 grid with four colors. Use a pencil tool that fills one pixel, or tiny square, at a time. Build the outline, fill the colored areas and add a highlight, then save a crisp PNG image.
On this page
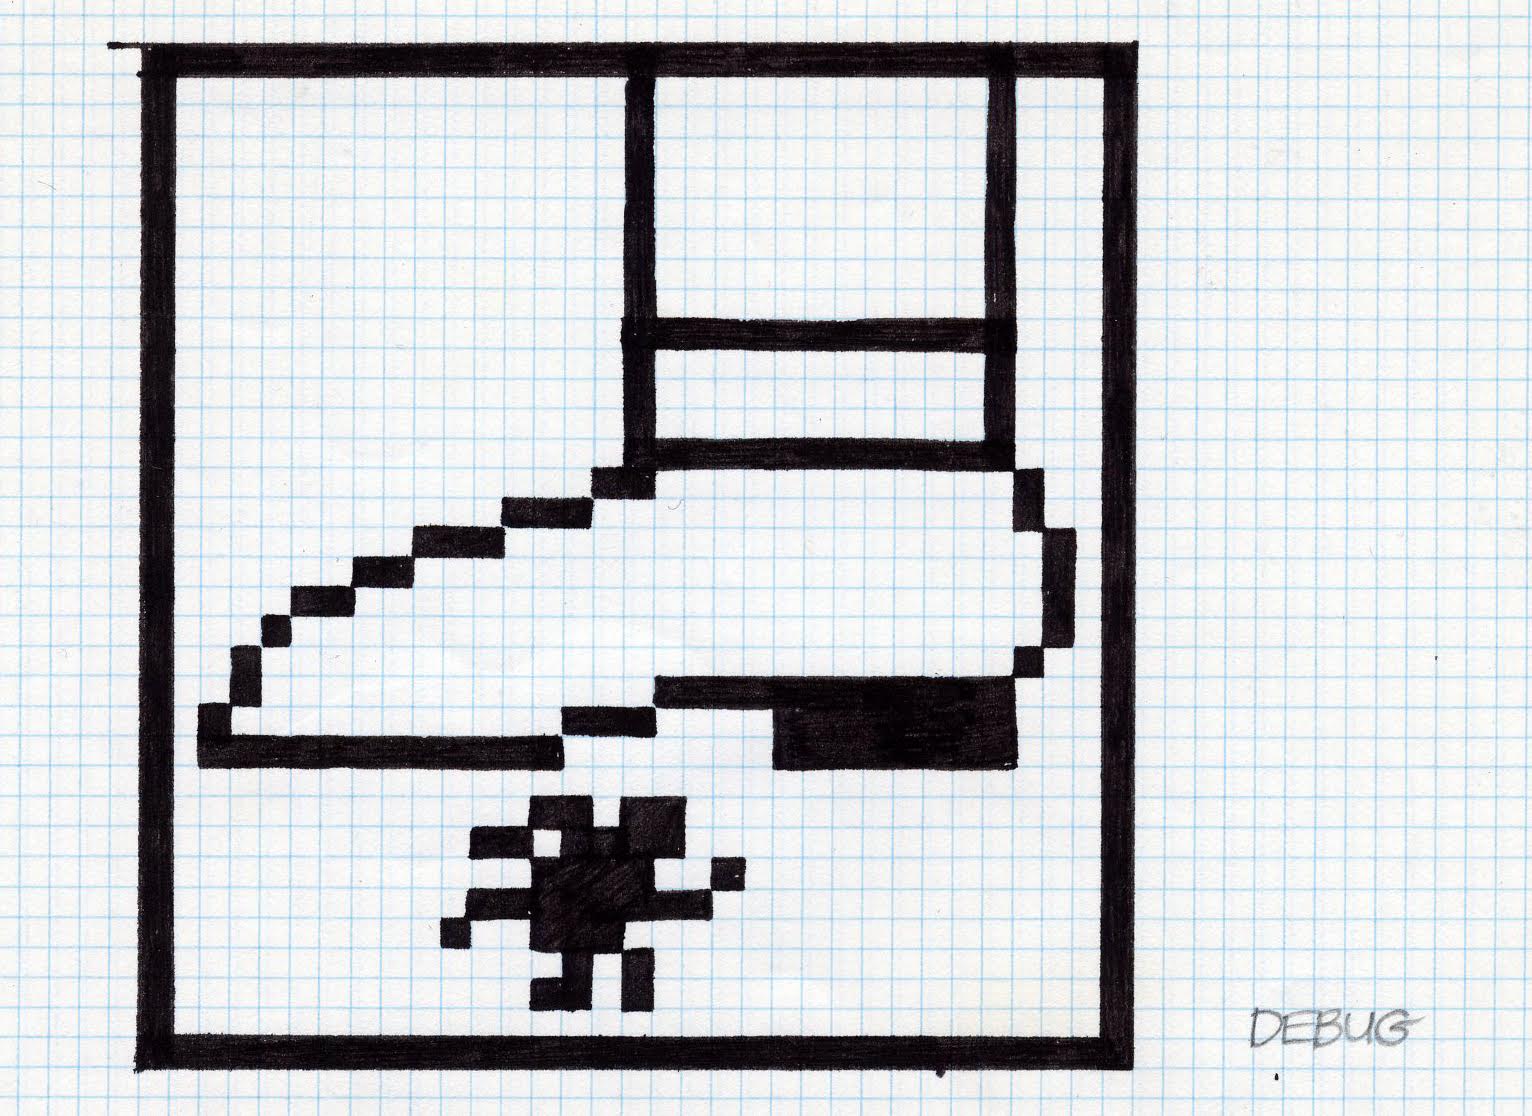
Learn from a real working grid
Susan Kare’s Macintosh icon sketches in MoMA’s collection date from 1982–83. She used pencil and ink on gridded paper, with each square standing for a screen pixel. The sketches show how a few well-placed marks can make an object easy to recognize.
Study the outline first. Which marks tell you what the object is, and which add character? Draw enough to make the object clear before adding details.
Set up a small canvas
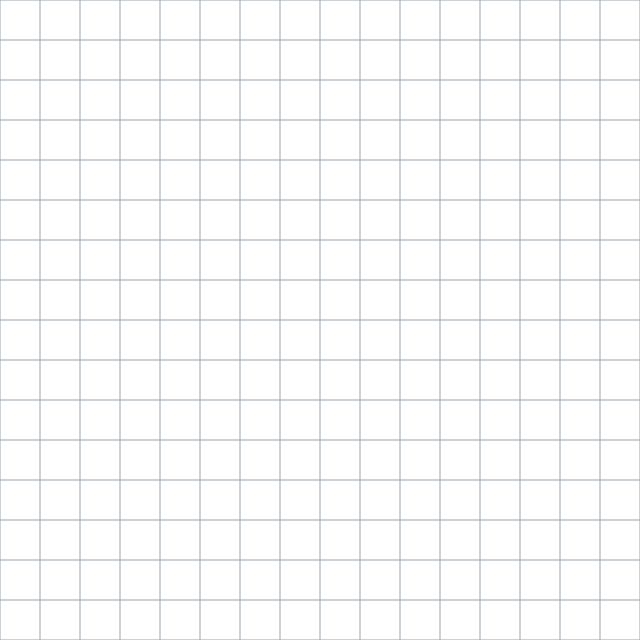
Create a 16×16-pixel image in your chosen editor. Turn on its pixel grid and choose a pencil tool with a one-pixel tip. The Aseprite documentation gives a reference for its drawing, color and animation tools. You can also sketch on our blank 16×16 grid.
Use four colors: a pale background, a dark outline, a medium teal and a light mint. Keep those four colors together in the editor’s palette, its saved set of colors.
Count columns and rows from the top left, starting at zero. Zoom in until you can place individual pixels comfortably, and keep a second view at actual size if your editor offers one.
Draw the mug’s outline
Run a dark horizontal line from column 4 to column 11 on row 6. Add sides down columns 4 and 11 through row 11. Finish the base on row 12, from columns 5 to 10. The missing bottom corners give the mug a slight curve.
Build the handle with six pixels: columns 12 and 13 on row 7, column 14 on rows 8 and 9, then columns 13 and 12 on row 10. Leave its center open so the handle looks like a loop.
Add steam at column-and-row positions (6, 2), (7, 3), (6, 4), then (9, 1), (10, 2), (9, 3). Keep row 5 empty so the steam stays separate from the rim. View the image at actual size before adding more marks.
Add color in connected groups
Fill the inside with teal, covering columns 5–10 and rows 7–11. Then place the mint highlight in columns 5–6 and rows 7–9. The highlight forms one connected patch, which gives the eye a clear area of light.
Compare the filled image with the outline alone. The color should strengthen the existing shape. Move the highlight by one pixel and watch how much that tiny change affects the mug’s surface.
Use the same test for extra detail. Each new mark should help show the shape, material or expression. Group pixels together so they form clear shapes.
Export a crisp version
Save an editable file that keeps your colors and drawing layers. Export a PNG image for a web page. Keep the original 16×16 version. For a larger copy, multiply both dimensions by the same whole number, such as four for 64×64 or eight for 128×128.
Choose nearest-neighbor scaling to keep the pixel edges sharp as you enlarge the image; the Aseprite resize guide explains its resize controls. Each original pixel then becomes an equally sized square.
For a website, set the width and height you want to show and use image-rendering: pixelated on the image. Test the small original alongside the enlarged version. The small view shows whether the mug is clear; the large view lets you inspect each pixel.
If the icon needs a label, compare clear letters in the pixel-font starter at the intended size. Once the mug feels clear, make a matching teapot or book with the same grid and palette.
Explore related styles in the 90s and 2000s aesthetics collection.