How to add blinkies to Carrd and Rentry
Published
Carrd and Rentry take different routes. On Carrd, the custom-code method below needs Pro Standard or higher. On Rentry, use Markdown with a direct image address.
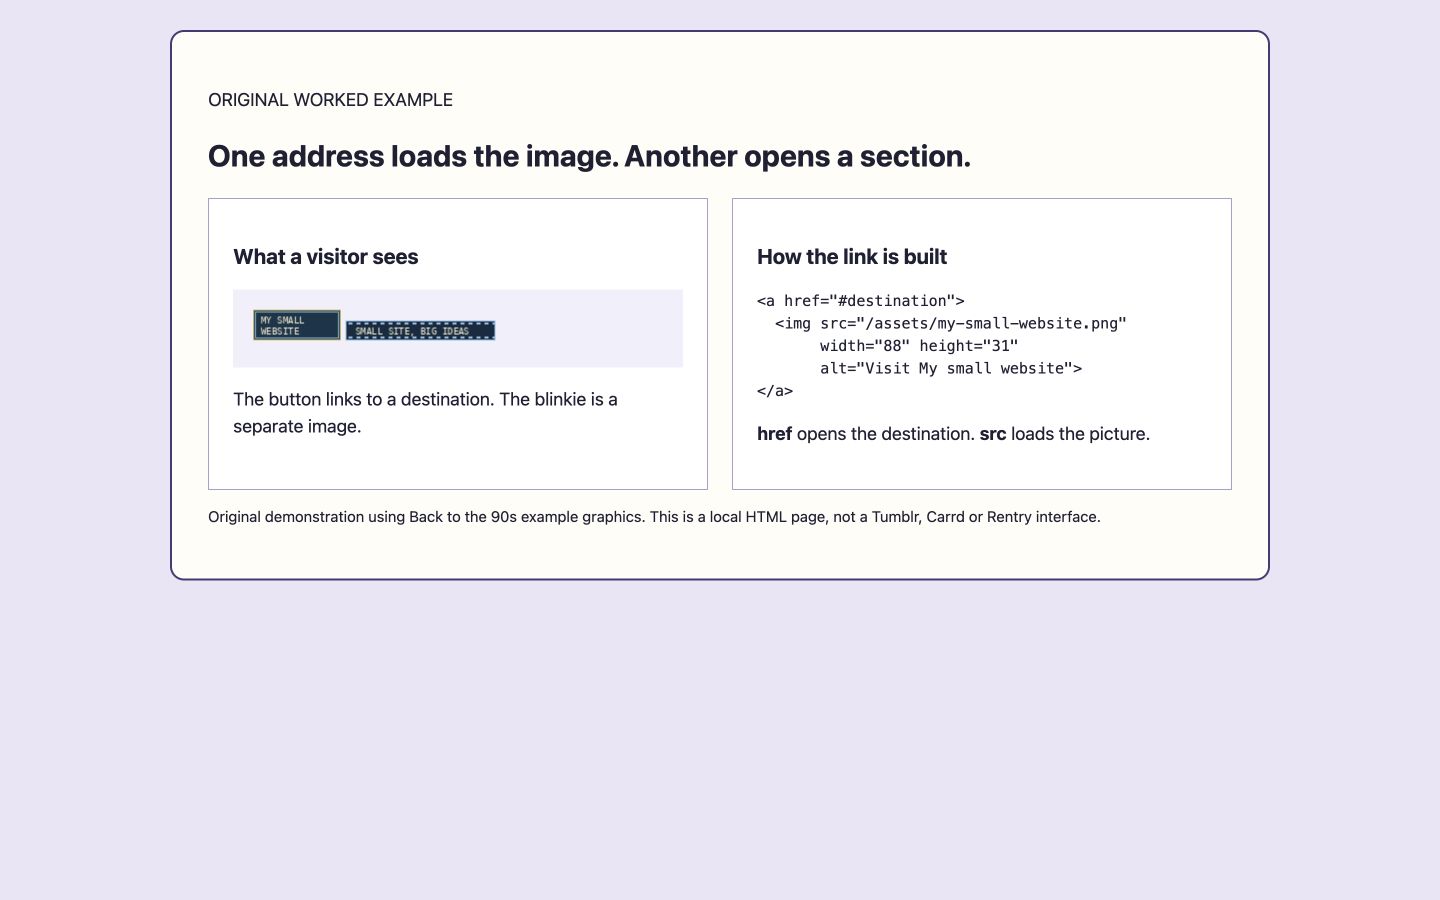
Carrd: use an Embed
Carrd’s Embed element accepts custom code on Pro Standard and higher plans. Add an Embed element, set Type to “Code” and Style to “Inline”, then enter the example below. Replace the two addresses with the destination and the direct HTTPS address of an image you have permission to use.
<a href="https://example.org/">
  <img src="https://example.org/blinkie.gif" width="150" height="20" alt="Visit Example">
</a>
Set the dimensions to match your image. Alt text is a text alternative for visitors who cannot see the image. Replace “Visit Example” with alt text that tells them where the link goes or what it does. Carrd says embedded code appears on the published site, not in the builder. Publish and check the site to see it.
Rentry: use Markdown
In the editor, insert this on its own line. Replace the image and destination addresses with yours. The image address must point directly to the file.
[{150px:20px}](https://example.org/)Replace “Visit Example” with alt text that tells visitors where the link goes or what it does. The address after that text loads the image; the final address is the link a visitor opens. The dimensions in braces control display size. Rentry notes that displaying a large file at a smaller size does not reduce its file size, so use a suitably small image file.
If the image does not appear
Check the direct image address, including its filename and extension. Open the published page and test the link. A demonstration address such as example.org must be replaced before the example will show your image.
For a general explanation of badges and alternative text, see Add blinkies and buttons.